Editing Device Data
Use this tutorial for steps on how to edit records in the database (also applies to inputting new information on a device).
See below section on how to add a new option to a drop down menu.
Status and Bank Data
Remember that Status and Bank information displayed on the Nameplate screen can only be changed from the Change Out window.
Related Articles on devices:
Step-by-step guide
The Nameplate window database is similar to Excel in function.
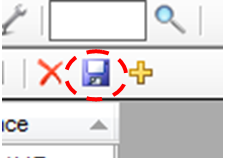
Save Warning
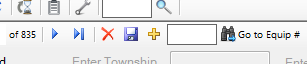
Any changes you make to the database in this window will not save unless the save symbol is pressed (NO AUTO SAVE). It is located in the upper left next to the navigation toolbars.
- Entering Data Into a Text Cell
- If the cell is blank simply click on the cell and start typing.
- If the cell contains data already double click and then navigate your cursor to correct location to start adding text.
You can erase existing data by selecting the cell and pressing backspace
Editing Note
Be careful when changing multiple cells on a device, if you change the cell that the database is currently being sorted by it will move in the database and may be hard to find again.
Remember to save periodically and to save before closing the window.
- Entering Data Into a Drop Down Menu
The dropdown menus contain lists of common settings. Dropdowns are used because when managing the large database for applications like populating the GIS map and building the Engineering Model these settings need to be declared individually when importing the data. By limiting the ways that the same information can be transposed it makes for quicker importing and exporting of the data between software packages.
Dropdown Addtions
If the option you need for a dropdown is not listed it can be added. See the below steps on Dropdown Addtions.
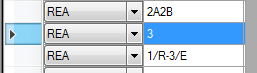
- To change or declare the value in the drop down double click the cell to open the drop down menu (it may take three clicks if the cell isn't highlighted already).
- Select the appropriate option.
- If you wish to make the drop down menu blank there is an option at the top of dropdown that is blank, you can select that to either change it to a blank (null) setting or to not change the cell if the wrong menu is selected.
Adding a New Option to a Dropdown Menu
Use this guide to add options to a drop down, consolidate options in a dropdown, or delete an option.
Deleting Options
Be careful about deleting dropdown menu options, if you delete one that a device is currently using it will become a blank field. There is no tool for reassigning options as a macro.
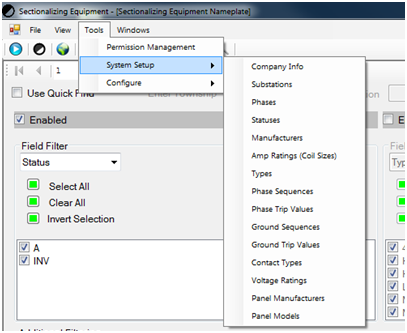
- Begin by going to Tools-System Setup
- Select the field name that you wish to add or edit the dropdown options for.
- Select the field name that you wish to add or edit the dropdown options for.
- A new window will open up in the LYNX program. On this screen all of the options for that dropdown menu will be dislayed.
- We can sort these options just like the other fields either Alpha-Numerically descending or ascending by double clicking the field header name.
In this example we are editing the Phase Sequence options so the heading is "Sequence"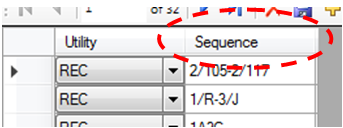
- The Utility field declares the Co-op that the option is for. Even if you only have access to one Co-ops LYNX database this field needs to be filled and not blank for the option to be displayed.
- Select the Yellow Plus sign in the upper left to add a new entry.
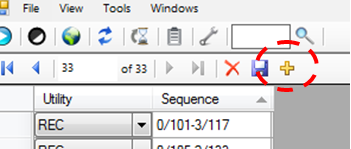
- A new blank entry will appear at the bottom.
- Declare the Co-op in the Dropdown.
- Write the new option you would like in the text box.
Save the window.
Save
Remember to Save before closing the window.
Close the System Setup Window.
- We can sort these options just like the other fields either Alpha-Numerically descending or ascending by double clicking the field header name.
- Deleting Entries
- To delete an option go to the System Setup window same as in the above steps.
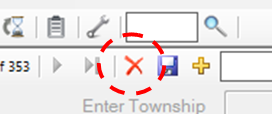
- Select the entry you wish to delete by pressing the left most tab of that row.
- When the row is highlighted press the Red X next to the Save button.
- Save the window and exit.
- To have the new options displayed on in the Nameplate screen you will have to close and re-open the nameplate window. Remember to save any changes you have made to the database before closing.
STAR Energy Services LLC