...
Use this guide to access records on a specific device and view them in a printable format.
- Begin by identifying the Equipment Number of the device you want to retrieve records from.
In this example we will retrieve records for device 345 - Enter the Equipment Number into the text box located in the upper left here: See Filtering Records here
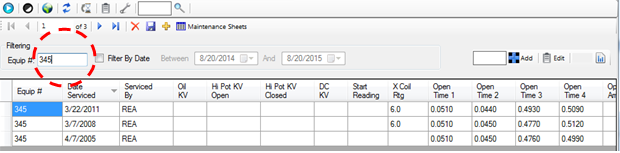
- Once the records have been filtered press the spreadsheet button to the far right of the text box.

- You should have a new window open with the reports on that device.

| Anchor | ||||
|---|---|---|---|---|
|
Creating Records
Use this guide for steps on how to log records on Testing and Maintenance.
Begin by opening the Testing and Maintenance Window.
- Identify the Equipment Number of the Device that you wish to record the logs for.
- Enter that number into the text box in the upper right corner located here:
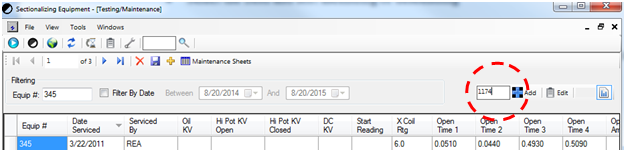
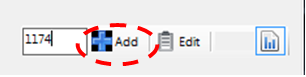
- Either press enter or the Add button
- A new screen should appear that looks like this:
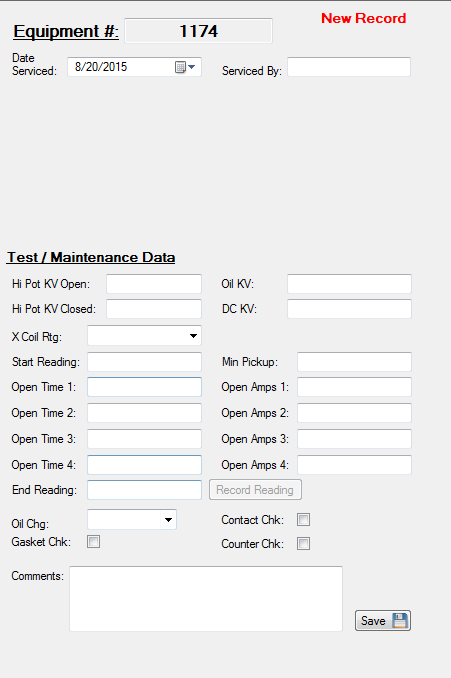
- Start filling out the data you have gathered during the Testing/Maintenance.
- See fields for explanations of data - Fields
- See fields for explanations of data - Fields
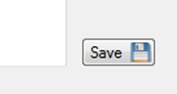
- Once you have completed filling out all known fields select the Save button in the lower right.
- The Record should be added to the database now.
| Note | ||
|---|---|---|
| ||
You can edit records in a way similar to adding new, just press the edit button next to Add when you type in the equipment number in step 3. |
| Anchor | ||||
|---|---|---|---|---|
|
Printable Records Log Sheet
...
Use this guide for steps on how to print a blank sheet that can be used to record data in the field, and during on-site testing.
Begin by opening the Testing and Maintenance Window.
- Press the Maintenance Sheets button here:

- The form will look like this.
